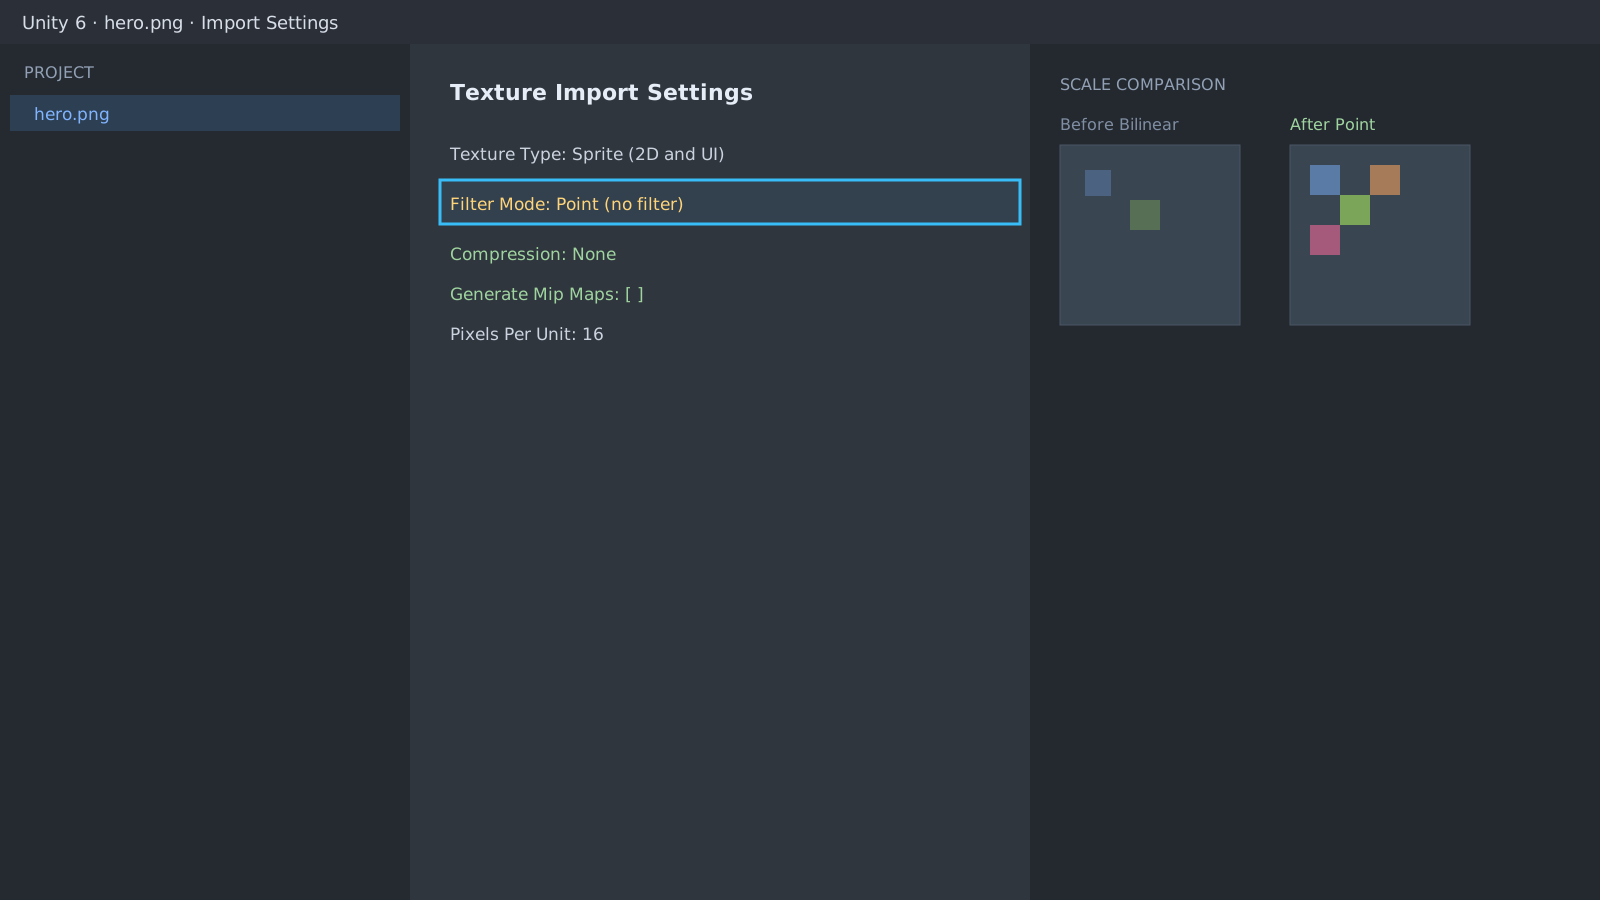
First check: the sprite import settings
Select the sprite and set Filter Mode to Point (no filter). The default Bilinear interpolates between pixels and smudges pixel art. On the same screen, set Compression to None and disable Mip Maps (rarely needed in 2D).
Still blurry at the right size? check scaling
A Pixels Per Unit (PPU) mismatch stretches sprites by fractional amounts. For a 16x16 character use PPU 16 and keep Transform scale at whole numbers (1, 2, 3...). Snap positions to integers as well to stop jitter.
// Forcing it from code
var importer = (TextureImporter)AssetImporter.GetAtPath("Assets/art/hero.png");
importer.filterMode = FilterMode.Point;
importer.textureCompression = TextureImporterCompression.Uncompressed;
importer.mipmapEnabled = false;
importer.SaveAndReimport();
UI and tiling
UI images can blur with Canvas Scaler scaling; match the reference resolution to pixel sizes. Tile seams are solved with Sprite Atlas padding.
Expected result and next step
Pixel edges surviving zoom means done. If colors smear, re-check compression, then verify draw calls in the Profiler guide.
// hero.png importer state after the fix
filterMode: Point(no filter)
compression: None mipMaps: 0Official documentation review
Verified
Reviewed the article's code and procedure against official Unity documentation and marked it ready for publication. This is not a claim of an independent Unity project or device reproduction; version- or device-specific reports will be checked in that environment as follow-up.